Create Zoom Meetings
- Zoom webinars are used to present live content during workshops, some socials and for sponsor booths. Zoom meetings are used for the presenters and SlidesLive to give Q&A and other live segments during orals and invited talks.
- We use eventhosts.cc@gmail.com as the base Zoom account. The password for this account is in the Eventhosts shared password vault for Apple's “Password App”.
- After you create the account record the Personal Meeting ID: and the Host Key: you will need them if you need to contact support.
- [See update] Zoom now monitors the country that you log in from and will send you a verification code by email if it detects a login from another country. You may want to provide SlidesLive the Gmail account information so they can access the accounts. Update: There is a way to disable 2 factor authentication on enterprise accounts by asking your account representative at Zoom.us.
- In your account page at Zoom.us, click Billing in the zoom.us sidebar and choose to “Upgrade your Account”. Because the Pro plan only scales to 9 licenses, choose Business. Be sure to choose monthly billing rather than annual. Purchase the correct number of video webinar add-ons. Your main Zoom account consumes one zoom meeting license; go to users and remove your licenses for webinar and meeting if you don't need them.
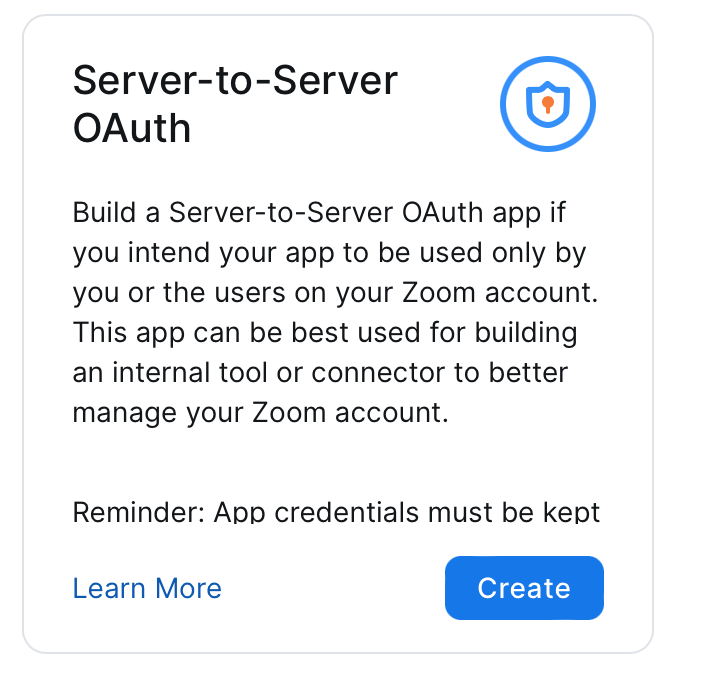
- Generate your api keys by by visiting https://marketplace.zoom.us, in the develop menu dropdown choose Build App and choose Server-to-Server oAuth. Click the create button and name your app. Then add your credentials to the meeting's .env file on both production and development as ZOOM_CLIENT_SECRET, ZOOM_CLIENT_ID, and ZOOM_ACCOUNT_ID. This only needs to be done once.

|
 |
¶ Free Up Licenses
If you used Zoom for a previous meeting, you might need to clear the users created for that meeting. Log into Zoom.us and click “User Management” then “Users” you will see a list of users. Search for users by first name or department, then delete them one by one.
Use the Events table admin interface to export a spreadsheet of Events as xlsx. Filter for the correct events, then use the Export Zoom xlsx admin action.
- Turn off word wrapping for all cells to make it easier to read.
- Verify that each event has a start and and end time. If missing, make one up.
- Us
e ./manage.py fix-admin-export-for-xltozoom event-export.xlsx to add missing fields to the spreadsheet, e.g. meeting_or_webinar and to remove unnecessary fields. Check that the action column isn't misspelled as S. - If you need to skip a row, e.g. for a Social that doesn't want a Zoom, add a column called “Action” and add the word “skip” to the row.
- For each event, we need to create a zoom user where the user name is created from our base account name eventhosts.cc@gmail.com. For the workshop IPRL, we would create the user eventhosts.cc+IPRL@gmail.com. Make sure that the names you use do not contain special characters like space, + or @. This way, the eventhosts.cc@gmail.com account will receive all the Zoom account activation emails. Use “Users” in the sidebar to assign user one of our Zoom One Business licenses. (most events only need a meeting). In the User Group field select the group that corresponds to the meeting. This will make it easier to find and delete the users after the conference. It seems Zoom.us can only create about 50 accounts at a time. More might lead to a timeout.
- Confirm the user at zoom.us and set its password as listed in the spreadsheet. The management command called activate-zoom-users can help activate the account automatically. Instructions are in the script. This step requires selenium to remote control Firefox. This should be done on your local dev server.
- Now that you have the right number of activated and licensed user accounts at zoom.us, we are ready to use the zoom management scripts to create the webinars: password, zoom_host_password, and host_zoom_user_email.
- Run ./manage.py go-zoom PATH-TO-EXPORTED-SPREADSHEET.xlsx. That will iterate over each row of the spreadsheet and create or update a workshop or webinar for each event. The management command will write zoom_id, zoom_join_link and zoom_start_link information back into the Excel sheet. If the sheet is open in Excel, close it without saving and re-open it. Do this on your local dev server.
- run ./manage import-zoom-links PATH-TO-EXPORTED-SPREADSHEET.xlsx. Test this on your development server, first.
- copy the XLSX file to the production server and import it there using the same procedure as above.
Workshop Organizers, authors of papers, and tutorial presenters will see information on the page to start the zoom link. As part of this information, the instruction, “A SlidesLive engineer will start your zoom session” will appear by default. If you want to change that default to something else, set the zoom_instructions field to have your instructions. If you want no instructions, set zoom_instructions to an empty string. Set it to None to get the default message mentioned above.